![GAPTEQ Logo links weiss.png]](https://knowledgebase.gapteq.com/hs-fs/hubfs/GAPTEQ%20Logo%20links%20weiss.png?width=223&height=54&name=GAPTEQ%20Logo%20links%20weiss.png)
In this article you can read the following content:
Active Directory settings in the Server Configurations
Create GAPTEQ users automatically
Import Active Directory users and groups manually
Note! Your advantages:
- Fast integration and reduced administrative effort in user management.
- Use of AD user groups in the access rights of your GAPTEQ application.
- Automated creation of GAPTEQ users possible when an AD user logs on.
1. Active Directory settings in the Server Configurations
- Go to “Server Configuration” in the GAPTEQ Menu under Repository.
- There you will find all the settings for the AD connection in the “Directory User” tab.
- Set the checkbox “Use directory domain to authenticate users” and then enter the Active Directory domain of your organization.
- The AD domain is read out and inserted via the “Detect” button.
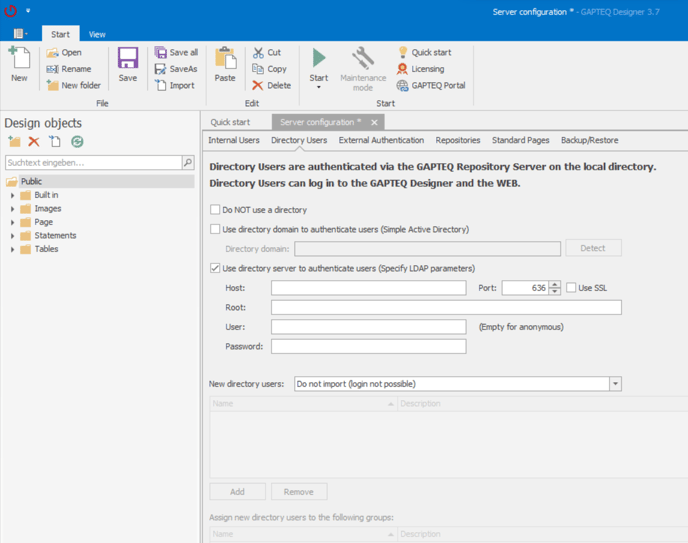
- Alternatively, a complete LDAP path can also be specified in the form of a URL.
Tip! the string always starts with the protocol: ldap://
- Activate the checkbox “Use directory server to authenticate users” if you require parameters for root, port or access data for your directory server.
- Activate LDAP via SSL (ldaps) with the “Use SSL” checkbox.
Ask your system administrator for the required information for the parameters.
2. Create GAPTEQ users automatically
Directory users and groups can be imported automatically. This significantly reduces the effort required for user management.
- In the drop-down menu under “New directory users” (see screenshot above), select how you want to configure the import of Active Directory users.
- Depending on the setting, then select one or more AD groups for which GAPTEQ users are to be created at the first log-in.
3. Import Active Directory users and groups manually
As an alternative to creating users automatically, you can also import Active Directory users and groups manually.If you have activated automatic creation, you can create individual selected users that are not included in the groups to be imported.
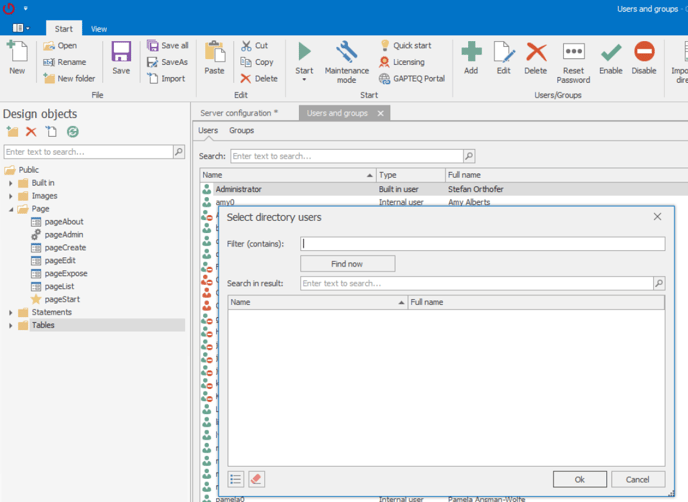
- To do this, go to the GAPTEQ menu under “Users and groups”.
- In the user administration, import individual Active Directory users by right-clicking on the user list and selecting “Import from Directory”.
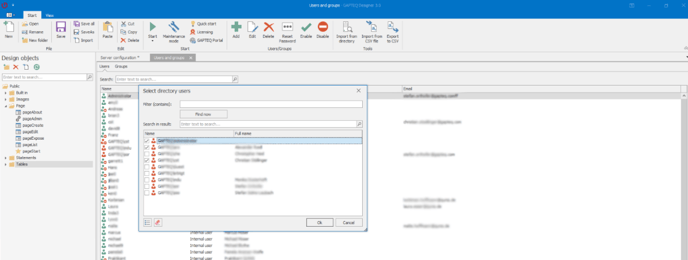
- In the screen that opens, all users can be listed and selected individually by clicking on “Find now”.
- For directories with a large number of users, the results can be narrowed down using the filter field.
Tip! To import individual Active Directory groups, switch to the “Groups” tab and proceed in the same way as described for the users (only the groups are imported, not the users they contain).